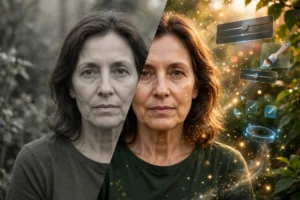
Want to turn a still photo into a moving video without paying? With a free AI image to video tool, you upload the image and describe the motion you want. Then you download a 5–30 second clip in minutes. Tools like Seedance (via Dreamina or CapCut) even export clean on the free tier. This guide compares the truly free options, walks you through the process step by step, and shares prompt tips that make your clips look much better.
What Is AI Image to Video?
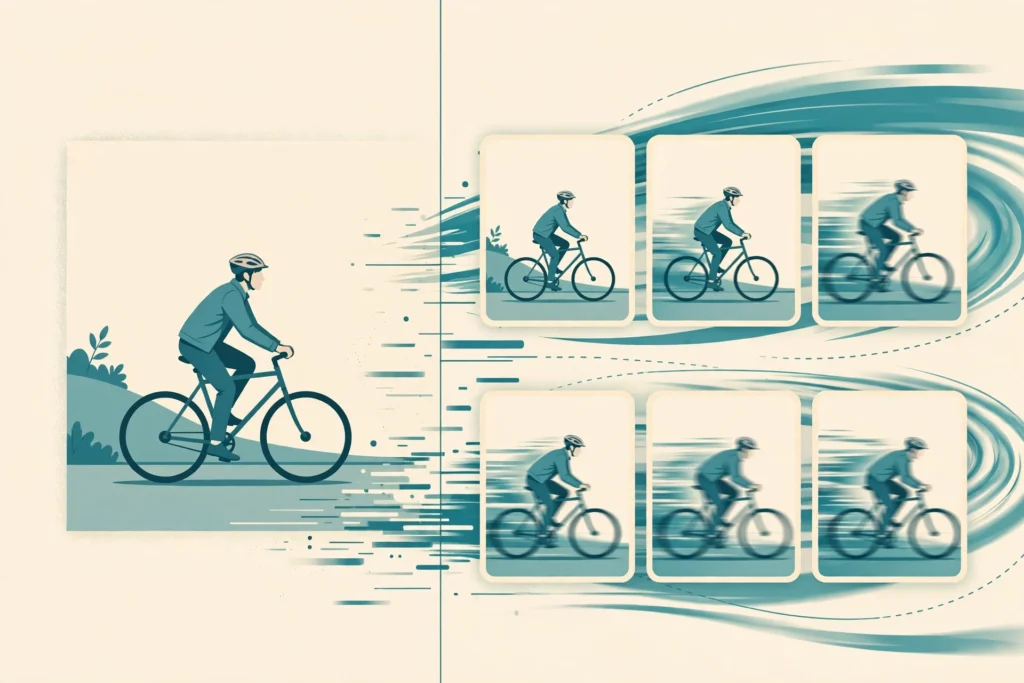
AI image-to-video (also called photo-to-video or image animation) takes a single still image and turns it into a short video clip. You give the starting frame; then the AI invents the motion — a slow zoom, drifting clouds, a person turning their head, hair moving in the wind.
Text-to-video is different: there, you describe a whole scene in words and the AI makes it all from scratch. With image-to-video, you start from your photo instead. The framing, subject, and style are already locked in, so the results stay in your control and work well for real projects: product shots, social posts, thumbnails brought to life, and short ads.
Most tools also take a short text prompt with the image. However, the prompt does not describe the scene — it describes the motion. That point is the one thing you must get before you start, and we will come back to it in the tips section below.
The Best Free AI Image to Video Tools in 2026


First, every hosted AI image to video tool meters its free tier with credits, and most stamp a watermark on free exports. The table below compares free tiers using data checked in September 2026 — however, limits change often, so treat this as a snapshot and confirm the current numbers on each tool’s pricing page before you commit to a workflow. For another take, see this free-tier comparison of the best free AI image to video tools.
| Tool | Free tier | Watermark on free | Commercial use on free | Clip length |
|---|---|---|---|---|
| Seedance (via Dreamina or CapCut) | New free credits daily | No | Allowed | Up to 30s |
| Kling AI | 66 credits/day | Yes | Not allowed | ~5s |
| Pika | 80 credits/month, 480p | Yes | Allowed | ~5s |
| Hailuo AI (MiniMax) | Daily free credits | Yes | Check terms | ~6s |
| PixVerse | 60 credits/day, 540p–720p | Yes | Paid only | 5–8s |
| Google Veo (via Flow / Gemini) | Small daily pool, 720p | Yes | Check terms | ~8s |
| Runway | 125 credits, one-time (never refreshes) | Not stated | Paid plans | ~5s |
| Adobe Firefly | New credits daily | Yes | Paid only | ~5s |
| Luma Dream Machine | Small monthly quota | Yes | Paid plans | ~5s |
| Wan 2.2 (open-source) | Free if you host it yourself | No | Allowed (check license) | Depends on GPU |
Which free tool should you try first?
Want clean output you can post for free? Then start with Seedance through Dreamina or CapCut — it is the only hosted free tier that exports clean and allows commercial use. If you want the most free credits per day and don’t mind a watermark, pick Kling. Its 66 daily credits are the largest free daily pool. For the best-looking free test clips, try Google Veo through Flow, within its small daily cap. Finally, note that Runway’s 125 credits are a one-time welcome allowance, not a monthly plan — fine for trying the tool, but not for a regular workflow.
If you need a starting image, you can make one first with a bulk AI image generator and then turn it into video — clean, high-contrast AI images turn out better than busy photos. For the broader landscape, see our best free AI video generators roundup.
AI Image to Video: How to Turn a Photo into a Video Step by Step
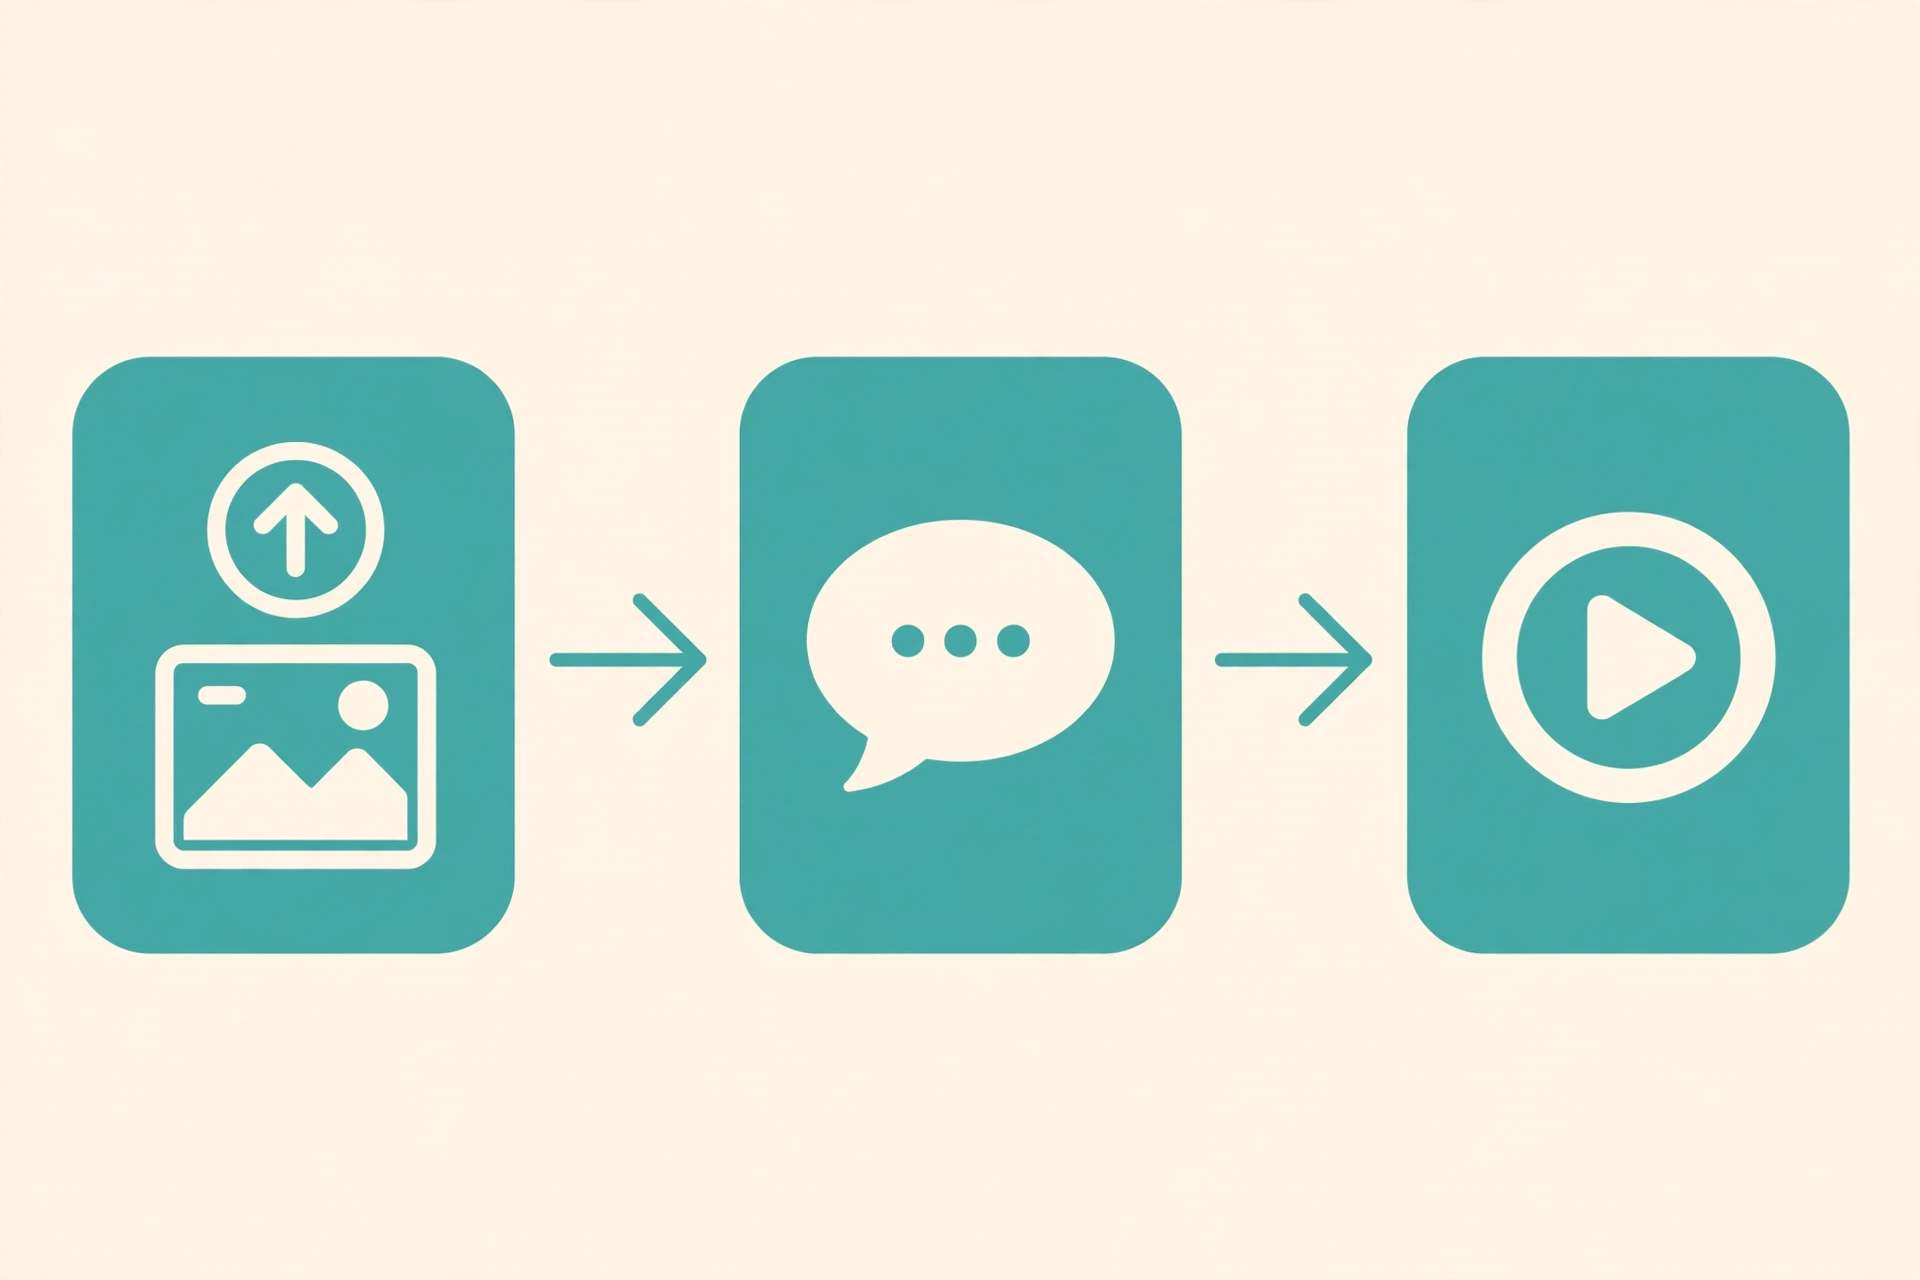
The AI image to video workflow is nearly the same across tools, so once you learn it on one, you can use any of them. Here it is using Seedance via Dreamina (free, no watermark) as the example — the same steps work for Kling, Pika, Hailuo, or PixVerse — and this step-by-step workflow shows the process with pictures.
Step 1 — Sign up and open the image-to-video mode
Create a free account on Dreamina (or open CapCut’s AI video section). Then look for the image-to-video or photo-to-video mode. Most tools split text-to-video and image-to-video into two modes — so make sure you pick the image option, otherwise you will be asked to describe a scene from scratch.
Step 2 — Upload a clean, high-resolution photo
Upload a JPG, PNG, or WebP. Next, note that a good source file matters more than you think: AI motion makes small flaws show up more, so a sharp, well-lit photo gives much smoother results than a small or blurry one. If your photo needs cleanup, run it through an image upscaler first. Finally, simple shots with a clear subject turn out far better than busy, cluttered scenes.
Step 3 — Write a motion prompt
Describe how things should move, not what is in the picture — the tool can already see your photo. For example, good: “slow push-in toward the subject, gentle breeze moving her hair, soft clouds drifting.” Bad: “a woman standing in a field” (the tool knows that already — you just wasted your prompt). So keep it to one or two motions, because asking for five things at once makes mush.
Step 4 — Choose aspect ratio and settings
Pick 9:16 for Reels, Shorts, and TikTok, 1:1 for feed posts, or 16:9 for YouTube. However, decide this before you begin — fixing it later hurts the result. Then set the clip length the free tier allows (often 5 seconds; Seedance 2.5 can do up to 30 in one pass).
Step 5 — Generate, review, and iterate
Hit generate and wait (free tiers are slower, about 30–90 seconds). Then watch the result closely: does the motion look real? Did faces or hands distort? If it is off, change the prompt — not the photo — and try again. Making two or three tries from the same image is normal, but the first result is rarely the keeper.
AI Image to Video Prompt Tips That Actually Improve Your Clips


These AI image to video prompt tips come from people who tested the tools a lot, so they fix most bad outputs. For a deeper dive with real examples, see these prompt tips from FrameLoop:
- Prompt the motion, not the content. First, name the shot (push-in, pull-out, pan, orbit) plus one subject motion (“subtle smile”, “leaves rustling”). That is the whole method.
- Start with a sharp photo. This matters because AI motion smears small details in poor photos. So feed it clean input or upscale first.
- Match the aspect ratio to the platform up front. For example, use portrait for Shorts/Reels/TikTok and landscape for YouTube. Never change it after.
- One or two motions per clip. “Slow orbit around the product” beats “orbit while the product spins, lights flash, and confetti falls.”
- Use negative prompts when available. For instance, many tools accept “no watermark, no distortion, no morphing faces” style phrases — so use them.
- Stuck on wording? Then ask Shaheer GPT to turn your idea into a motion prompt, or read our AI image prompts guide — the prompting mindset carries over.
AI Image to Video Free-Tier Limits: Watermarks, Duration, and Commercial Use
So here are three things to check before you build an AI image to video workflow around any free tier:
1. Watermarks. Most free tiers stamp every export — fine for testing, but useless for client work or ads. Seedance (Dreamina/CapCut) and Wan 2.2 on your own machine are the ones that export clean for free.
2. Duration. Expect 5–8 seconds per clip on most free tiers; Seedance 2.5 stands out at up to 30 seconds in one go. Longer videos are stitched from many clips — so screenshot the last frame of one clip and use it as the starting image for the next to keep the motion smooth.
3. Commercial use. This is the trap. Kling’s free tier, for example, clearly forbids commercial use, while Seedance and Pika allow it. So if the video will appear in an ad, a store listing, or client work, read the terms for your exact tier — or budget for the cheapest paid plan that includes a commercial license.
Also keep in mind: free credit pools refill on different schedules (daily for Kling, Hailuo, and PixVerse; monthly for Pika; one-time-only for Runway). So save your bigger tests for the daily-refresh tools.
Yes — two real options. Seedance exports clean on the free tier through Dreamina and CapCut (new free credits daily, commercial use allowed), and the open-source Wan 2.2 model is watermark-free if you run it on your own GPU. All other hosted tools watermark free exports until you pay.
The Bottom Line
Free AI image to video in 2026 really works, not a demo gimmick — as long as you pick the right tool for your goal. So for clean clips you can post at zero cost, start with Seedance through Dreamina or CapCut. For the most daily tries, however, rotate through Kling’s 66 daily credits. And no matter which tool you choose, remember the golden rule: prompt the motion, not the picture. For the full video-generation landscape beyond image-to-video, see our free AI video generator guide.